![]()
![]()
Recipes


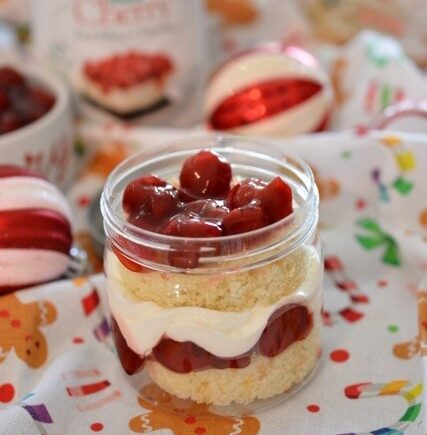
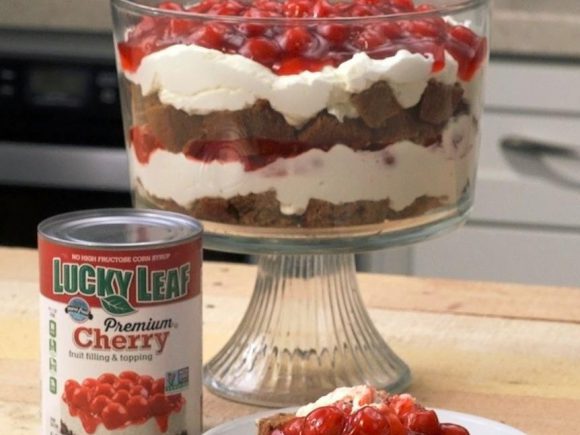
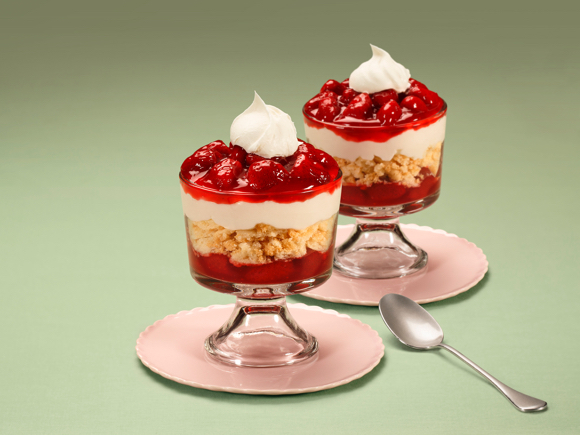
Delight your senses with our irresistible Mini Cherry Pie Trifles – a whimsical twist on the classic dessert that’s sure to leave a lasting impression. Imagine layers of buttery graham cracker crumbles, silky vanilla custard, and a burst of ruby-red cherry pie filling, all nestled in charming individual servings.
Step 1
preheat your oven to 350 degrees. Butter and flour a half sheet pan and line with parchment paper place your second mixing bowl for the whipped cream, and the whisk in the freezer to get very cold.
Step 2
Make the cake: In your first mixing bowl, blend the butter and sugar until light and fluffy, ( around 3 minutes)
add in your vanilla and eggs, one at a time. Add in the baking powder and salt and blend well. Alternate adding the flour and milk, ending with the flour.
Step 3
pour into your prepared pan and smooth the top out. Bake for 12 minutes and set aside to cool completely. Cover with plastic wrap and place in the fridge overnight or until completely cooled.
Step 4
While the cake is chilling, make your stabilized whipped cream in your chilled mixing bowl, add in the softened cream cheese add in your confectioners sugar and blend well, add in the vanilla and mix slowly add in your heavy cream and blend completely. Now, slowly begin to increase the speed of your mixer until stiff peaks form in the cream. set aside until ready to pipe.
Step 5
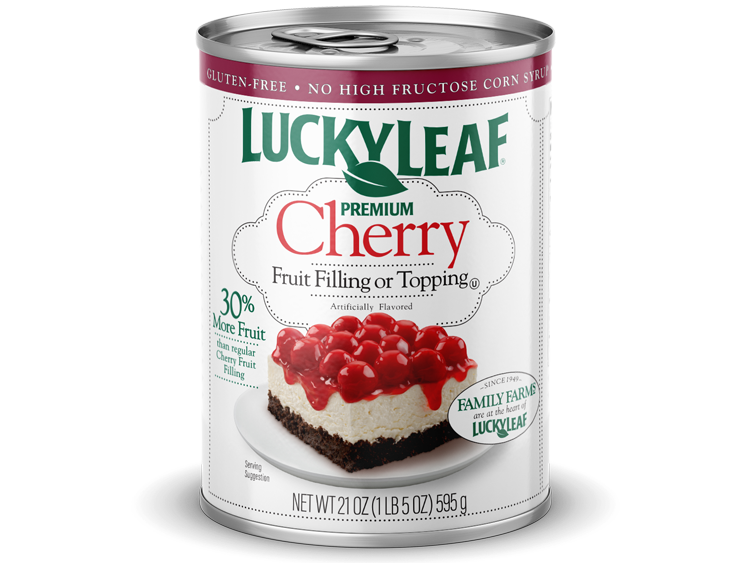
When your cake is completely cold, cut rounds of the cake to fit inside your jars. Begin by adding one cake round to the bottom. Now add a heaping tablespoon of the cherry filling pipe your whipped cream on top of the cherries repeat this process one more time, ending with the whipped cream and a few cherries on top. Optional is adding some decorative sprinkles and edible decorations too keep in the fridge until ready to eat they will keep for a few days in the fridge, if you have any left ;) Enjoy!!

This recipe was created by
Lizzie
Lizzie from Sweet Things by Lizzie has loved baking for as long as she can remember. One of her first memories as a child was at the age of 5, watching her Father walk across the lawn carrying an Easy Bake Oven in his arms, and Lizzie started jumping up and down with joy.

These are so beautiful and perfect for the holidays!!!
Perfect for the Holiday…..just the right size after the big meal with a taste that is deliciously HUGE!!!
WOW