![]()
![]()
Recipes


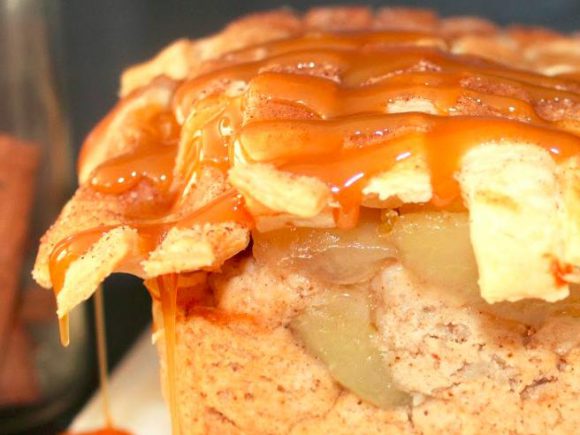
Salted Caramel Peach Hand Pies are such a fun and easy treat to make! My buttery, flaky pie crust is filled with Lucky Leaf’s Premium Peach Fruit Fruit Filling Or Topping and topped with salted caramel sauce for an irresistible dessert that everyone is sure to love.
Step 1
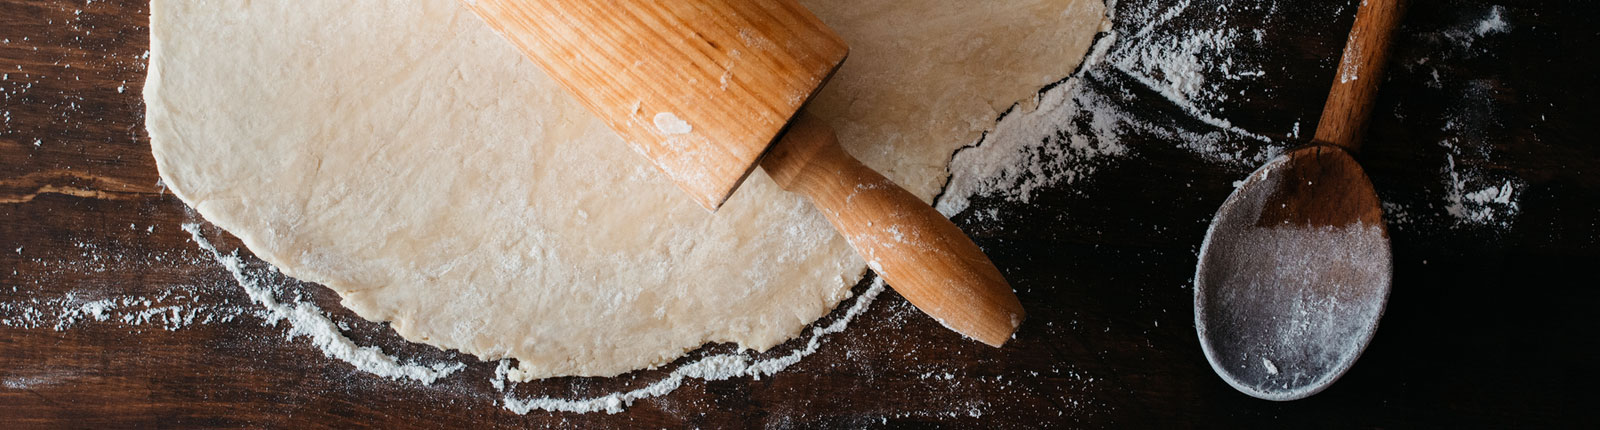
Make the Pie Dough: Whisk together the flour, salt, and sugar in a large mixing bowl. Cut the cold butter into tablespoon-size chunks. Cut the butter into the flour with a pastry cutter (highly recommend getting a pastry cutter!) until you have pieces the size of walnut halves and smaller, that are coated in the flour.
Add the ice cold water, 4-5 tablespoons at a time, stirring with a fork after each addition. Stop adding water when the dough comes together easily and begins to form large clumps. The dough shouldn't feel sticky or overly wet, but should hold together when you try to (gently) form it into a ball. Form the dough into a rough ball, then slice it in half. Gently flatten each half into a 1" thick disc. Wrap tightly in plastic wrap, and chill for at least 2 hours in the fridge, or 1 hour in the freezer.
Make-Ahead Tip: Pie dough can be made up to 3 days ahead and kept in the fridge, or it can be stored in the freezer for up to 2 months. Thaw it in the fridge overnight before using.
Step 2
2. Make the Salted Caramel Sauce - Cook the sugar on medium heat, stirring constantly to avoid burning any of it. Once the sugar has completely melted, immediately add the butter and reduce the heat slightly. Remove the pan from the heat and slowly add the heavy cream, whisking as you add it. Set the pot back on the heat for about a minute more, stirring constantly, to let it thicken up a bit. Remove from the heat, and let cool a bit. Add a pinch of salt if desired.
Step 3
Prep the Lucky Leaf Premium Peach Fruit Filling or Topping: Pour the can of peach filling out onto a large cutting board. Roughly cut the slices into bite-sized pieces, then sprinkle on the cinnamon and nutmeg and stir everything up with a spatula. Set aside.
Step 4
Roll Out Pie Dough & Assemble your Hand Pies: Line a few baking sheets with parchment paper or silicone baking mats. Beat the egg in a small bowl - this is your egg wash. Preheat your oven to 375° F.
Start with one dough disc, leaving the other to keep cold in the fridge. Work with one at a time, so that once one pan of pies is in the oven, you can work on assembling the next batch.
Once your dough has chilled, lightly flour your counter and begin rolling out the dough disc. Roll the dough out, turning it as you go, until it's about 14" x 14", and 1/8" thick. (The thickness is the main thing to note here.)
Use a 4" round cutter (or a bowl or glass of the same size) to cut circles out of the dough. Gently ball up your scraps, and wrap them in the same piece of plastic wrap, popping it back in the fridge to re-chill before rolling it back out. Arrange half of the circles on a baking sheet. Spoon two tablespoons of Lucky Leaf Premium Peach Fruit Filling or Topping onto each circle. Brush the edges of the dough circles all the way around with egg wash, then press another dough circle onto the top of each bottom piece. Seal the edges with your fingertip, then crimp with a fork.
Pop the baking sheet in the fridge to chill for about 10 minutes, so the dough is nice and cold going into the oven. While this pan bakes, repeat the process with your next dough disc. Then, roll the scraps from the first dough disc back out, and the scraps from the second dough disc back out. Then, combine the scraps you have left for a final roll out (you'll only get about 2 circles at this point). See note about your final dough scraps below.
Step 5
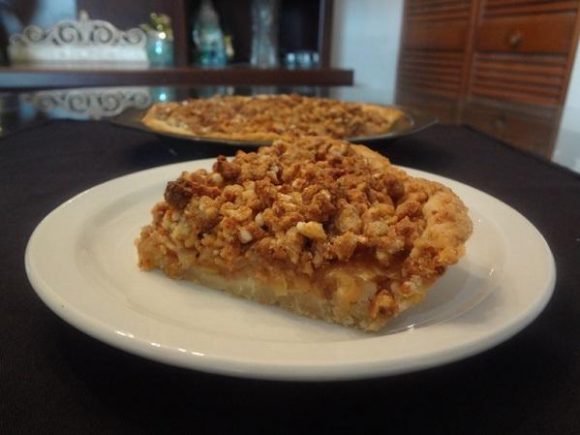
Bake: Once the hand pies have re-chilled, brush the tops of them with egg wash, and sprinkle with coarse sugar (cinnamon sugar would be delish too!). Bake for 26 to 31 minutes, until the crusts are nice and golden brown, and crisp. Let cool for 5-10 minutes on the baking sheet before drizzling with salted caramel sauce.
Step 6
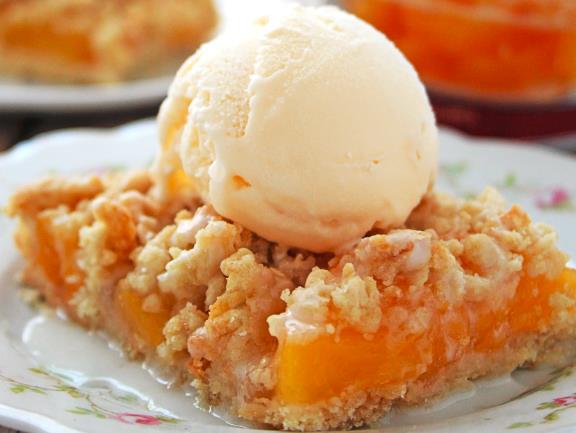
Serve + Store: Serve while nice and warm from the oven, with salted caramel sauce! I also like to add a sprinkle of flaky sea salt and a pinch of cinnamon sugar to the top of mine. These would also be delicious served with whipped cream or ice cream, if desired. These are best on the first 1-2 days. Store leftovers in an airtight container in the fridge - if you leave them at room temp overnight, the dough will completely lose its crisp texture. Gently reheat leftovers in the microwave or the oven.
Step 7
Make-Ahead Tip: Hand pies can be fully assembled, without the egg wash on the top piece of dough, and frozen. Freeze them on a baking sheet first so they don't stick together, then transfer to an airtight container to freeze for up to 2 months. Bake them from frozen, following the rest of the recipe as normal.


What others are saying about this recipe
No reviews yet. Leave one now.